Radiography students face a strange challenge. You need to memorize precise positioning details, like exact angles and centering points, while also understanding the anatomy underneath every image. Get either piece wrong, and the image doesn’t diagnose anything. That’s a lot of exact, technical knowledge to hold onto, and it takes focused practice to keep it straight.
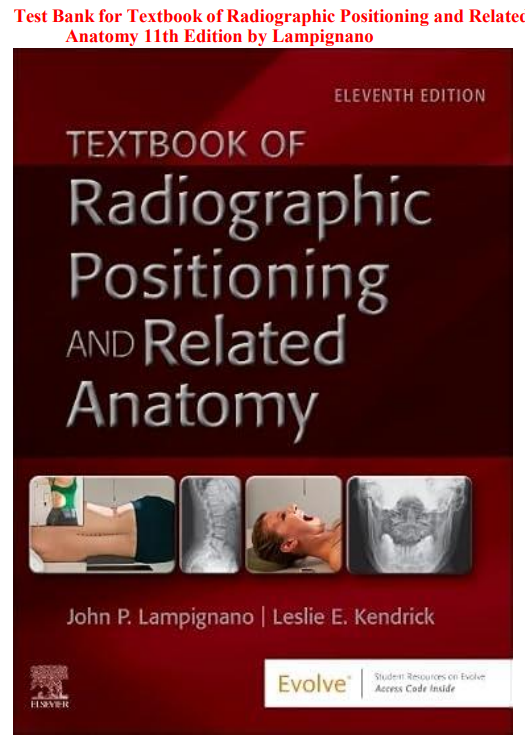
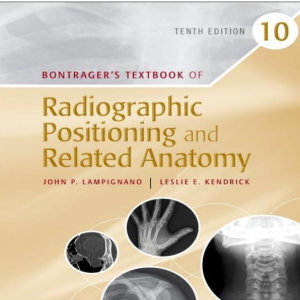
This test bank is built around the 11th edition of Textbook of Radiographic Positioning and Related Anatomy by John P. Lampignano. It follows the textbook chapter by chapter, so your practice sessions match exactly what your program is covering.
Whether you’re a radiologic technology student, prepping for the ARRT registry exam, or reviewing before clinical rotations, this resource helps you lock in positioning details and anatomical landmarks with confidence.
What This Test Bank Covers
Lampignano’s textbook is the standard reference for radiographic positioning education, and this test bank mirrors that same structure. You’ll find questions covering:
- Terminology and general positioning principles
- Chest and thorax radiography
- Upper extremity positioning
- Lower extremity positioning
- Pelvis and hip anatomy and positioning
- Vertebral column and spine radiography
- Bony thorax and cranium positioning
- Abdominal and gastrointestinal imaging procedures
- Urinary system radiography
- Radiation protection and exposure principles
- Digital imaging concepts and image evaluation criteria
If it’s a chapter in the textbook, there’s a strong chance it’s represented in this test bank.
Why This Test Bank Stands Out
1. It Follows the Textbook’s Structure
Every question aligns with a specific chapter in the 11th edition. That means faster, more focused review instead of digging through content that doesn’t match your current unit.
2. It Tests Precise, Applied Knowledge
Positioning isn’t something you can approximate. This test bank reflects that precision, asking about exact central ray angles, patient positioning details, and anatomical landmarks the way your practical exams will.
3. Every Question Comes With a Rationale
A correct guess doesn’t build lasting skill. Each question explains why the correct positioning or landmark is right, and why the other choices don’t hold up.
4. Clear, Straightforward Language
Radiographic positioning terminology can get technical fast. This test bank keeps sentence structure simple so the core concept stays easy to follow.
5. Built for Repeated Practice
Positioning knowledge sharpens with repetition, especially before clinical rotations or the registry exam. This test bank supports multiple passes through the material, not just a single review.
Who This Test Bank Is For
- Radiologic technology students in an accredited program
- Students preparing for ARRT registry exams
- Students reviewing before clinical rotations
- Radiography program instructors building quizzes or exam question pools
- Practicing technologists refreshing positioning knowledge
Sample Practice Questions
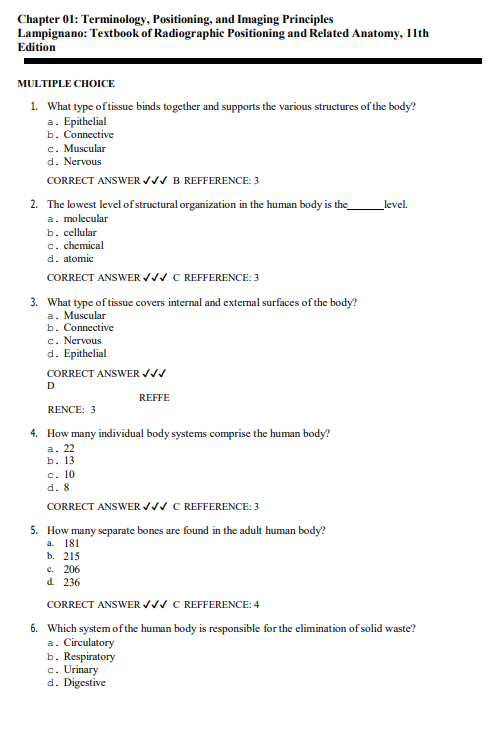
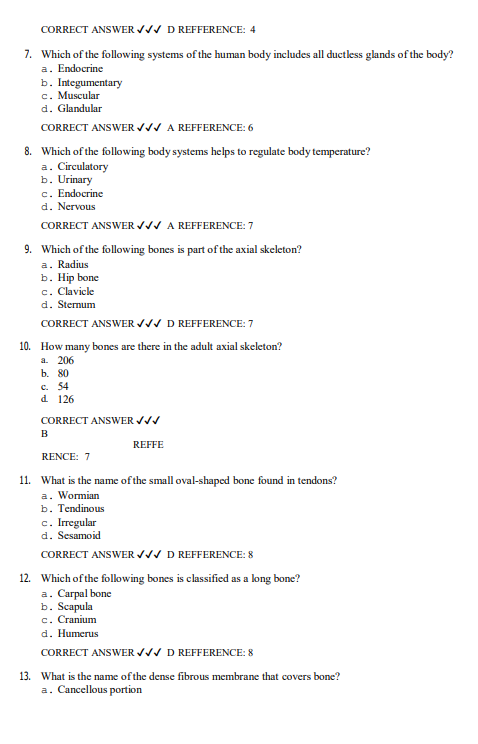
Here are five sample questions written in the same style and difficulty level as the full test bank.
Question 1: Chest Radiography
For a standard PA chest radiograph, where should the central ray be centered?
A) At the level of T3
B) At the level of T7
C) At the level of L1
D) At the level of C7
Correct Answer: B) At the level of T7
Rationale: The central ray for a standard PA chest radiograph is centered at the level of T7, which corresponds roughly to the inferior angle of the scapula and allows both lungs to be visualized fully. T3 is too high and would clip lung apices from proper centering, C7 is far too high, and L1 is too low, placing the center of the image below the lung fields.
Question 2: Upper Extremity Positioning
Which positioning is used to demonstrate the elbow joint in a true lateral projection?
A) Elbow fully extended with the forearm supinated
B) Elbow flexed 90 degrees with the humeral epicondyles perpendicular to the image receptor
C) Elbow flexed 90 degrees with the hand pronated flat on the table
D) Elbow fully extended with the arm rotated externally
Correct Answer: B) Elbow flexed 90 degrees with the humeral epicondyles perpendicular to the image receptor
Rationale: A true lateral elbow projection requires the elbow flexed to 90 degrees with the humeral epicondyles positioned perpendicular to the image receptor, ensuring an accurate lateral view of the joint space. A fully extended elbow doesn’t achieve the correct joint alignment for this projection. A pronated hand flat on the table produces an AP-type positioning rather than a true lateral, and external rotation with an extended elbow doesn’t match the required lateral alignment either.
Question 3: Pelvis and Hip Radiography
For an AP pelvis projection, how should the lower limbs be positioned to reduce foreshortening of the femoral necks?
A) Externally rotated 15 to 20 degrees
B) Internally rotated 15 to 20 degrees
C) Left in a neutral, non-rotated position
D) Externally rotated 45 degrees
Correct Answer: B) Internally rotated 15 to 20 degrees
Rationale: Internally rotating the lower limbs by 15 to 20 degrees brings the femoral necks parallel to the image receptor, which reduces foreshortening and provides a clearer view of the hip joints. External rotation actually increases foreshortening rather than reducing it. A neutral position leaves the femoral necks angled relative to the receptor, and 45 degrees of external rotation would distort the anatomy even further than a smaller rotation.
Question 4: Vertebral Column
Which patient position is used for an AP open-mouth projection to visualize the odontoid process?
A) Chin tucked with the neck flexed
B) Head tilted so the upper occlusal plane is superimposed with the base of the skull
C) Head fully extended backward
D) Head rotated 90 degrees to the side
Correct Answer: B) Head tilted so the upper occlusal plane is superimposed with the base of the skull
Rationale: For the AP open-mouth odontoid projection, the patient’s head is tilted so that a line drawn between the upper occlusal plane and the base of the skull is superimposed, allowing a clear, unobstructed view of the odontoid process through the open mouth. Tucking the chin or fully extending the head disrupts this alignment and can superimpose the mandible or skull base over the odontoid. Rotating the head 90 degrees would produce a lateral-type view, not the required AP projection.
Question 5: Radiation Protection
Which action provides the greatest reduction in patient radiation dose during a radiographic exam?
A) Increasing source-to-image distance only
B) Using proper collimation to the area of clinical interest
C) Increasing exposure time
D) Removing all lead shielding to speed up the exam
Correct Answer: B) Using proper collimation to the area of clinical interest
Rationale: Collimating tightly to the area of clinical interest reduces the volume of tissue exposed to radiation and also improves image quality by reducing scatter. Increasing source-to-image distance affects image geometry more than it independently reduces dose in a meaningful way for this comparison. Increasing exposure time raises patient dose rather than lowering it. Removing lead shielding eliminates a key radiation protection measure and increases risk rather than reducing it.
These five questions only scratch the surface. The full test bank includes hundreds of similar questions spanning every chapter of the 11th edition.
How to Study With This Test Bank
- Study one body region at a time. Chest, upper extremity, lower extremity, and spine each deserve focused review before moving to the next.
- Read every rationale carefully. Positioning details are precise, and understanding why an angle or landmark is correct helps the knowledge stick.
- Practice visualizing each projection. Picture the patient position and central ray path as you review, since that mental image supports recall during practical exams.
- Revisit missed questions after a few days. Spaced repetition strengthens recall of exact measurements and landmarks better than back-to-back review.
- Pair this with hands-on lab practice. The test bank reinforces theory, but true positioning skill also comes from physically practicing with equipment and phantoms.
Why This Beats Generic Radiography Quizzes
Free radiography quizzes online often use inconsistent terminology or skip positioning details specific to your program’s approach. This test bank was built specifically around Lampignano’s 11th edition, so the terminology, structure, and positioning standards match what you’ll see in your actual coursework and exams.
Format and Delivery
This test bank is delivered as a digital file. You get instant access after purchase. No shipping. No delays. Study from your laptop, tablet, or phone whenever you have time.
Frequently Asked Questions
Is this test bank the same as the textbook?
No. This is a companion study resource. You’ll still need the Textbook of Radiographic Positioning and Related Anatomy, 11th Edition, for full positioning images, anatomical illustrations, and detailed procedural steps.
Does this cover radiation protection content?
Yes. Radiation safety principles and dose-reduction techniques are included, since they’re closely tied to positioning practice throughout the textbook.
Is this useful for ARRT registry exam prep?
Yes. Positioning and anatomy concepts make up a significant portion of the registry exam, so this practice supports that broader preparation.
Can instructors use this to build exams?
Yes. Many program instructors use test banks like this as a foundation for quizzes, lab practicals, or written exams.
What question formats are included?
You’ll find multiple choice, true or false, matching, and short answer questions throughout the set.
Are rationales included for every question?
Yes. Each question comes with an explanation of why the correct positioning or landmark is right and why the other choices fall short.
Is this helpful before starting clinical rotations?
Yes. Many students use resources like this to review positioning fundamentals before applying them in a clinical setting.
How is this different from the textbook’s built-in review questions?
Built-in review questions are usually limited in number. This test bank offers a much larger, more comprehensive question set with detailed rationales for deeper practice.
Final Thoughts
Radiographic positioning rewards precision. A few degrees of rotation or an inch of centering can change whether an image is diagnostic or needs to be repeated. This test bank for the 11th edition of the Textbook of Radiographic Positioning and Related Anatomy gives you a direct way to build that precision before your exam. Realistic questions. Clear explanations. A study tool built around the exact skill your program is training you to master.
Grab your copy today and study with real confidence.
Lucille Maria –
Great questions for exam prep
Yunice M –
Excellent practice
Winnie M. –
Great resource for building confidence
Leo Fernandez –
Questions were challenging without feeling overwhelming
Kamara Reid –
Perfect
Theresa M. –
Great tool for exam readiness
Alicia Silva –
Clear questions made reviewing nursing material much easier.
Melania Angel –
The questions were relevant, challenging, and informative.
Perpetual Gates –
A valuable study companion for preparing for nursing exams.
Helen Christie –
Great questions and realistic scenarios.
Lucas Gabriel –
Very helpful for exam preparation.
Maryanne –
Clear explanations made difficult topics easier
Mary Lincoln –
An excellent test bank for quick exam prep
Norah Helen –
Great resource for reviewing key topics quickly
Kevin May –
Questions were clear and helpful for exam preparation
Peterson S. –
Helped me identify areas needing more study
Dorcas M. –
A convenient way to test knowledge after reading
Doris King –
Practice questions offer a fresh approach to revision
Betty Morgot –
Helpful material for reviewing concepts at different stages